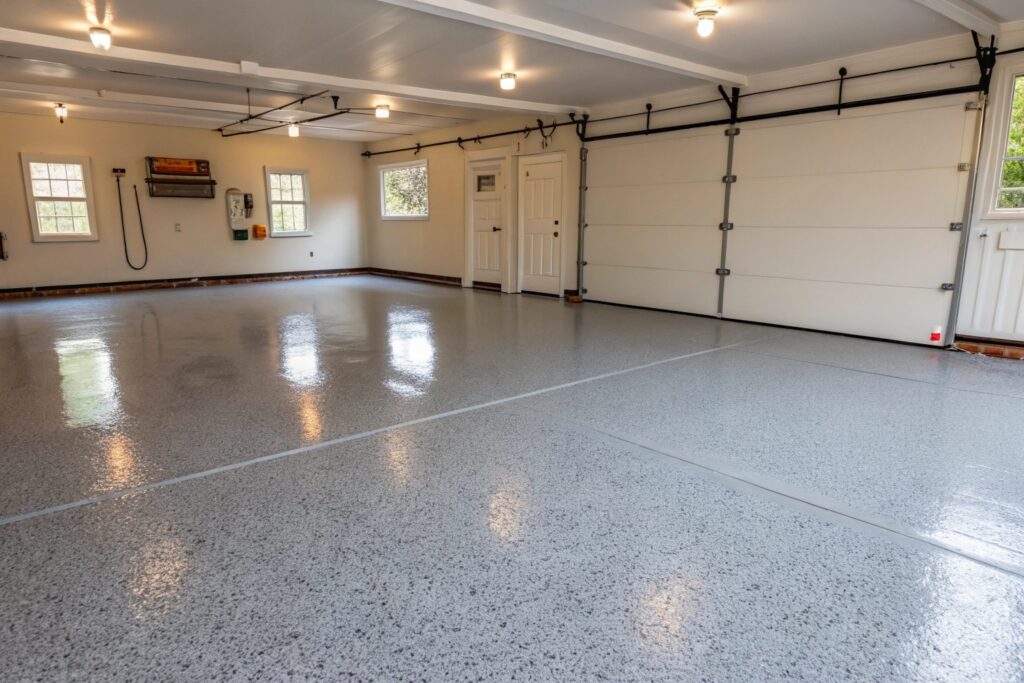
Marcus had his Berkeley garage floor coated three years ago. Looked great for about eighteen…
DIY vs Professional Garage Epoxy Berkeley: The Truth About Costs
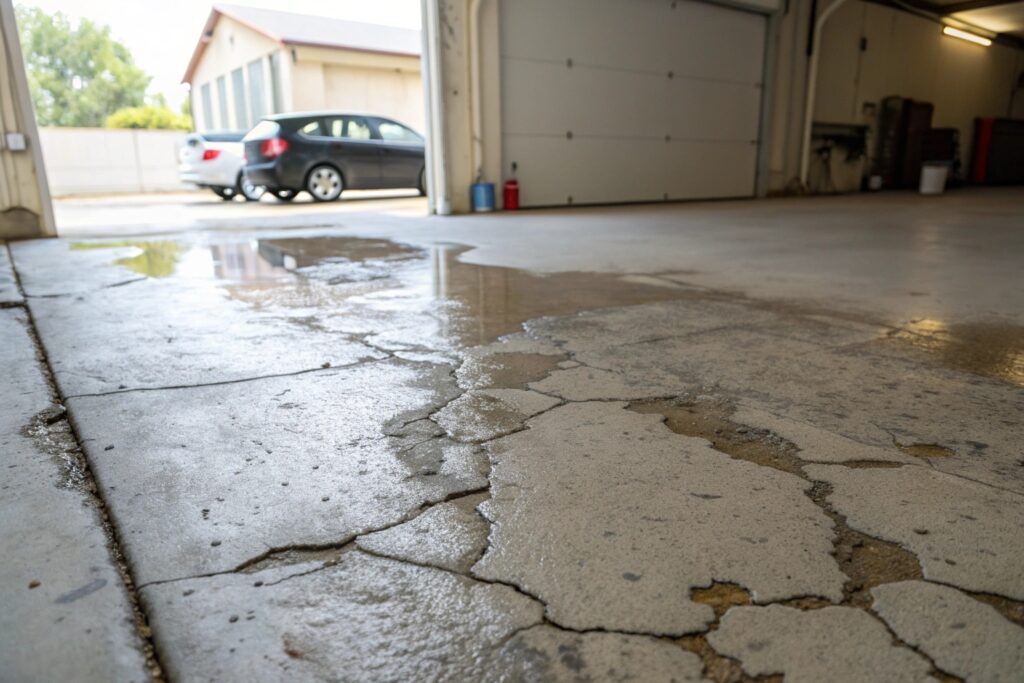
A bloke in the Elmwood neighbourhood spent three weekends and close to $800 on a DIY epoxy kit last summer. The finish looked great for about six weeks. Then the fog rolled in off the Bay, the moisture got underneath, and the whole thing started peeling like a sunburnt nose. He ended up calling a professional anyway — and paying twice.
That story isn’t rare around Berkeley. The DIY vs professional garage epoxy debate comes up constantly, and the answer isn’t as simple as “just save the money and do it yourself.” If you’re weighing up your options right now, this is going to help you make the right call the first time.
The Real Cost of DIY Garage Epoxy in Berkeley
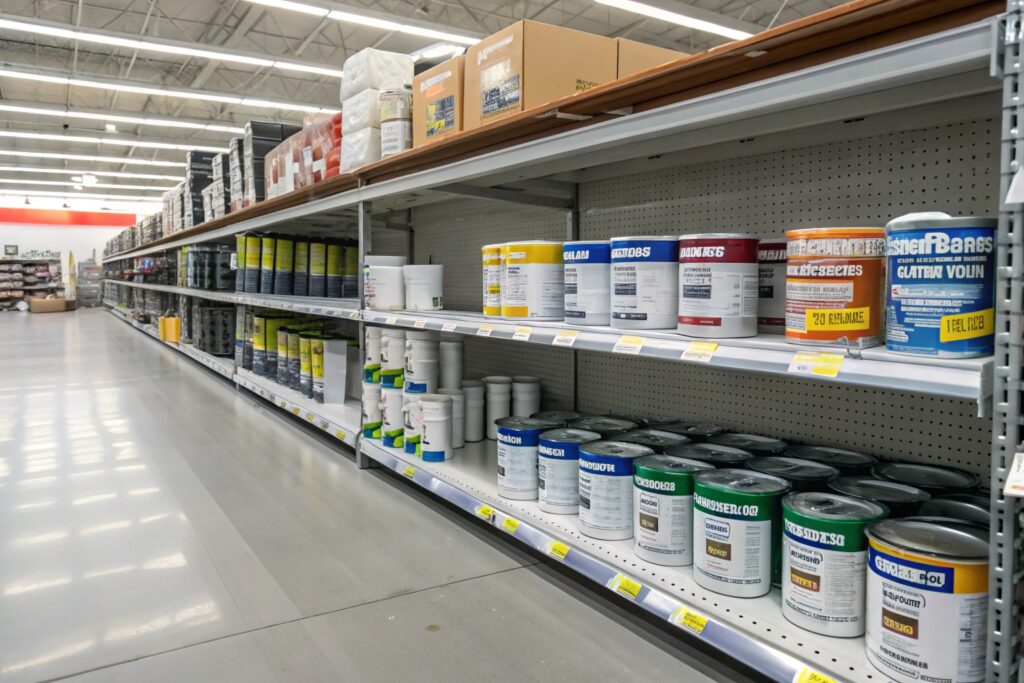
Walk into any hardware store and you’ll find epoxy kits sitting on the shelf with price tags that look pretty attractive. Usually somewhere between $150 and $400 for a standard two-car garage. On paper, that sounds like a bargain compared to a professional quote.
But here’s what those kits don’t tell you on the box:
- Surface preparation equipment — you’ll need a floor grinder or acid etching supplies, which can add another $100-$300 if you’re renting, more if you’re buying
- Primer coats — most budget kits skip this step, which is a big problem in Berkeley’s climate
- Multiple topcoats — one coat rarely cuts it for a garage floor that takes real traffic
- Repairs if it fails — stripping a failed DIY job before a professional can start adds labour costs that most people don’t factor in
By the time you add it all up, a DIY job in Berkeley often lands between $600 and $1,200 once you account for materials, equipment hire, and the inevitable extra products you’ll need mid-project. And that’s assuming everything goes right the first time — which, in this part of the Bay Area, it often doesn’t.
Why DIY Kits Fail in Coastal Conditions
Berkeley sits right on the edge of San Francisco Bay, and that location does beautiful things for the scenery and not-so-beautiful things for garage floors. The moisture coming off the water, the marine layer that settles in most mornings, and the temperature swings between seasons — all of it creates conditions that consumer-grade epoxy kits simply aren’t built for.
Here’s what’s actually happening when a DIY epoxy job fails near the coast:
Moisture vapour transmission is the big one. Concrete slabs absorb moisture from the ground below and the air above. When humidity levels are high — which they are in Berkeley for a good chunk of the year — that moisture pushes up through the slab and breaks the bond between the epoxy and the concrete. You get bubbling, peeling, and flaking. Sometimes within weeks.
Temperature sensitivity during application is another issue. Most DIY kits have a narrow application window — usually between 15°C and 25°C with low humidity. Berkeley’s marine climate doesn’t always cooperate with those requirements, especially in spring and late autumn when the fog is heaviest.
Surface preparation is where most DIY jobs fall apart before they even start. Professional-grade epoxy needs a concrete surface that’s been properly ground or shot-blasted to open up the pores and create a mechanical bond — a requirement outlined in the concrete surface preparation standards published by the Concrete Institute of Australia. A quick acid wash — which is what most DIY guides recommend — doesn’t come close to achieving the same result on a Berkeley slab that’s seen years of moisture exposure.
Consumer kits are formulated for controlled environments. Berkeley garages are anything but.
Professional Installation: What You’re Really Paying For
When someone quotes you $1,500 to $3,500 for a professional garage epoxy job in Berkeley, it’s easy to feel a bit of sticker shock. But that number covers a lot more than just the coating itself.
A professional installation typically includes:
| What’s Included | DIY Kit | Professional |
| Industrial surface grinding | ❌ | ✅ |
| Moisture barrier primer | ❌ | ✅ |
| Marine-grade epoxy coating | ❌ | ✅ |
| Multiple broadcast layers | ❌ | ✅ |
| Polyurethane or polyaspartic topcoat | ❌ | ✅ |
| Warranty on labour and materials | ❌ | ✅ |
The products a professional brings to your Berkeley garage are a completely different category to what’s sitting on a hardware store shelf. Commercial-grade epoxy systems are formulated specifically to handle moisture vapour, UV exposure, and temperature variation. They also meet the slip-resistance requirements for floor surfaces outlined by SafeWork NSW — something consumer kits rarely account for. They bond harder, last longer, and hold up to the kind of daily punishment a garage floor actually takes.
There’s also the experience factor. A professional installer reads the slab before they start — checking for moisture levels, existing coatings, cracks, and surface contamination. That diagnostic step alone can save thousands in rework costs down the track.
When you pay for professional installation, you’re paying for the right product, applied the right way, on a properly prepared surface. That combination is what actually lasts in Berkeley’s coastal conditions.
Berkeley Success Stories: DIY Disasters vs Professional Results
The contrast between DIY and professional results shows up pretty clearly when you talk to enough Berkeley homeowners who’ve been through both experiences.
A property owner in North Berkeley tried a DIY kit on his garage floor before listing his home. The application went smoothly enough on the day, but within a month the coating had lifted along the edges where moisture was getting in from the garden-side wall. His real estate agent flagged it during the pre-sale inspection. He ended up paying a professional to strip it back and redo the whole floor — costing him nearly double what he would have spent going professional from the start.
On the flip side, a facility manager at a commercial property near the Berkeley Marina had a professional polyaspartic system installed three years ago. The floor still looks the same as the day it was finished. No peeling, no bubbling, no staining from oil or chemicals. She’s had zero maintenance costs since installation.
The pattern that comes up again and again is this — DIY jobs in Berkeley tend to look fine for the first season, then deteriorate fast once the marine layer really starts working on them. Professional systems are built to withstand that cycle year after year.
It’s not that DIY epoxy is a bad product everywhere. In a dry inland climate with a controlled environment, a decent kit can perform reasonably well. But Berkeley isn’t that climate, and the Bay Area’s conditions demand a system that’s up to the challenge.
Tools and Skills Required for Coastal Epoxy Installation
Even if you’re a confident DIYer who’s tackled plenty of home projects, garage epoxy in a coastal environment like Berkeley is a different beast. The tools and skills required go well beyond what most homeowners have on hand.
On the equipment side, a proper installation needs:
- Diamond-cup floor grinder — rental cost typically $150-$250 per day, and it takes practice to use evenly without leaving grind marks that show through the finished coating
- Industrial wet/dry vacuum — to manage the dust and debris from grinding without contaminating the prepared surface
- Moisture metre — to test the slab before application and confirm conditions are within the acceptable range for the specific product being used
- Squeegees, rollers, and spiked shoes — for even product distribution without trapping air bubbles in the coating
On the skills side, you need to know:
- How to read a concrete slab for existing sealers, contamination, or previous coatings that need to be removed first
- How to mix two-part epoxy systems accurately — ratio errors cause soft spots and premature failure
- How to time each coat correctly based on temperature and humidity on the day, not just the instructions on the tin
- How to manage Berkeley’s marine layer if conditions shift during application
Professional installers bring all of this to the job as a matter of course. For a homeowner doing it once, the learning curve is steep — and the consequences of getting it wrong are expensive.
Long-Term Value: DIY vs Professional Comparison
When you strip away the upfront costs and look at what each option actually delivers over time, the numbers tell a pretty clear story.
| DIY Kit | Professional Installation | |
| Upfront cost | $600-$1,200 | $1,500-$3,500 |
| Expected lifespan in Berkeley | 1-3 years | 10-15 years |
| Maintenance costs | High | Low |
| Failure risk in coastal conditions | High | Low |
| Warranty | None | Typically 5-10 years |
A DIY job that needs redoing every two or three years will cost more over a decade than a professional installation done once and done right. And that calculation doesn’t even factor in the time cost of stripping a failed coating before you can start again.
For Berkeley homeowners thinking about property value, a professional epoxy floor is also a genuine selling point. It presents well, it’s durable, and buyers recognise quality when they see it. A peeling DIY job has the opposite effect.
The honest answer to the DIY vs professional question in Berkeley comes down to this — if you’re in a dry inland climate with a brand new slab and a tight budget, a quality DIY kit might get you through a few years. But if your garage sits in the Bay Area fog belt, on a slab that’s absorbed years of coastal moisture, professional installation isn’t a luxury. It’s just the option that actually works.
Ready to Get a Professional Epoxy Floor That Lasts?
If you’ve been going back and forth on the DIY vs professional decision for your Berkeley garage, the best next step is a simple conversation. A local installer can assess your slab, give you an honest quote, and tell you exactly what your floor needs — no obligation required.
Don’t let another Bay Area winter take its toll on a floor that deserves better. Get in touch today and find out what a professional epoxy system can do for your garage.