Marcus had his Berkeley garage floor coated three years ago. Looked great for about eighteen…
Coastal Epoxy Floor Preparation: What Wollongong Homeowners Need to Know Before Installation Day
My neighbour Craig learned the hard way what happens when you skip the prep work.
He’d just had a flash-looking epoxy floor laid in his garage down in Primbee — metallic finish, the whole nine yards. Looked absolutely brilliant for about eight months. Then the peeling started. Not in one spot either. Big sections lifting right along the edges where moisture had crept under the coating during our wet season. The installer had come and gone in a day, which should’ve been the first red flag.
Craig’s a smart bloke. He did his research on the product, compared finishes, got three quotes. But neither him nor the contractor had paid proper attention to what the concrete actually needed before a single drop of epoxy went down.
That’s the thing about coastal epoxy floor preparation that most people don’t realise until it’s too late — the floor you can see is only half the story. The real work happens before installation even begins, and in a coastal environment like Wollongong, that preparation phase is what separates a floor that lasts a decade from one that starts failing before your next summer barbecue.
Wollongong’s coastal conditions are genuinely tough on concrete. We’ve got the salt air rolling in off the Pacific, humidity that sits high for months at a time, and older properties in suburbs like Primbee, Cringila and Warrawong that have soaked up years of moisture through their slab. That combination creates real challenges — ones that require a specific, methodical approach if you want your epoxy coating to actually stick around.
This guide walks through exactly what proper preparation looks like for coastal properties, so whether you’re hiring a epoxy contractor or just want to know the right questions to ask, you’ll know what good prep actually involves.
Moisture Assessment for Coastal Concrete Surfaces
Before anything else happens, a proper moisture test needs to be done on your slab. This isn’t optional in a coastal suburb — it’s the whole ballgame.
The two most common methods are the plastic sheet test and calcium chloride testing. The plastic sheet test is simple: tape a square of plastic sheeting to the concrete, leave it for 24 hours, and check for condensation underneath. If there’s moisture present, you’ll see it. Calcium chloride testing goes deeper — it measures the actual rate of moisture vapour emission from the slab, giving you a number you can work with.
In Wollongong’s coastal belt, a lot of slabs — particularly in older homes built before the 1990s — have no vapour barrier underneath them at all. Moisture moves up through the concrete constantly, especially in the wetter months. A contractor who skips this step and goes straight to grinding is setting the job up to fail.
What you’re looking for is a moisture vapour emission rate below 3 pounds per 1,000 square feet per 24 hours before standard epoxy can be applied. If readings come back higher than that, the solution isn’t to push ahead anyway — it’s to use a moisture-tolerant primer or apply a dedicated vapour barrier coating first.
The Australian Building Codes Board guidelines around moisture management in flooring systems exist for exactly this reason, and any installer worth their quote will know them well.
Surface Preparation Techniques for Salt-Damaged Floors
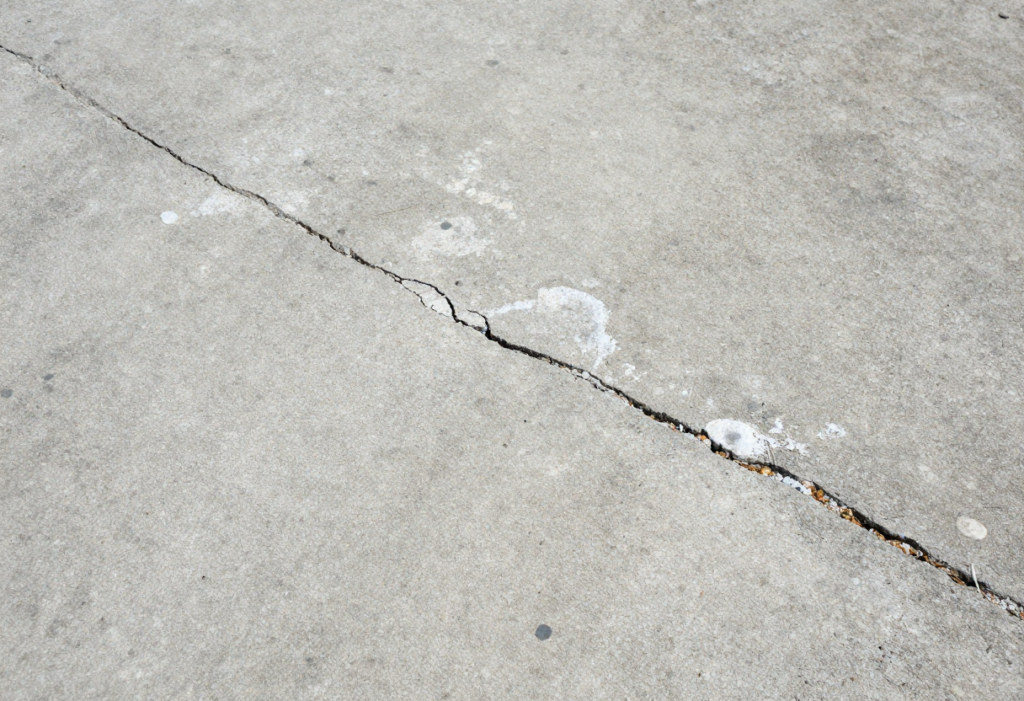
Salt air does a number on concrete over time. What you end up with in a lot of coastal garages and warehouses is a surface that looks solid but has actually been compromised — weakened at the top layer, sometimes with white salt deposits visible, and often with micro-cracking that opens up the concrete to moisture penetration.
You can’t epoxy over that and expect it to hold. The contaminated surface layer has to come off first.
Diamond grinding is the industry standard for this, and it’s non-negotiable for coastal properties. It mechanically removes the top layer of concrete — including any salt contamination, old coatings, or laitance — and opens up the concrete’s pores so the epoxy actually has something to bond to. Shot blasting is another option for larger commercial spaces, giving a consistent profile across a wide area.
The profile you’re aiming for after grinding is called a CSP (Concrete Surface Profile) rating. For most epoxy systems, you want a CSP 2-3 — roughly the texture of medium sandpaper. Too smooth and the epoxy won’t grip. Too rough and you’ll use excessive product filling the voids.
Any epoxy contractor working in Primbee, Cringila or similar coastal areas should factor in extra time for surface prep compared to an inland job. The salt damage alone can add an hour or two of grinding to a standard garage floor.
Primer Selection for High-Humidity Environments
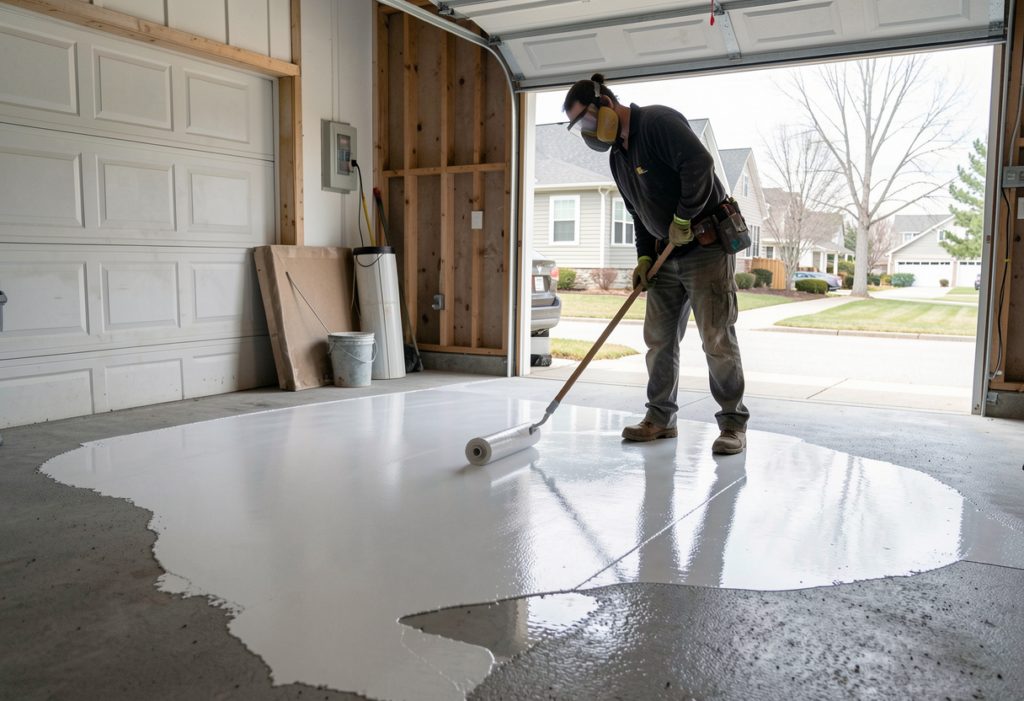
Once the surface is clean, profiled and moisture-tested, primer selection becomes the next critical decision — and this is where coastal jobs differ significantly from standard residential installs.
Standard epoxy primers work fine in low-humidity environments. In Wollongong, especially during summer, you need something formulated specifically for high-humidity conditions. Moisture-tolerant epoxy primers are designed to cure even when moisture vapour is present at the surface — they essentially lock it in rather than fighting it.
Two-part epoxy primers are generally preferred over single-component options for coastal applications. They cure harder, bond more aggressively, and are less sensitive to ambient humidity during the curing window. Your contractor should also be checking the dew point before applying primer — if the concrete surface temperature is within 3 degrees of the dew point, moisture can condense on the slab during application and compromise adhesion.
This is the kind of detail that separates experienced coastal installers from those who do most of their work inland and occasionally take a job down near the beach.
Addressing Concrete Issues in Coastal Properties
Cracks, spalling and uneven areas all need to be addressed before any coating goes down. These aren’t cosmetic issues — they’re pathways for moisture to move under your finished floor.
Hairline cracks get filled with a flexible polyurethane or epoxy crack filler, which can move slightly with the concrete without breaking the seal. Larger structural cracks need to be assessed properly — if the crack is still moving, filling it is only a temporary fix and the underlying cause needs attention first.
Spalled areas — where the surface concrete has broken away in chunks — get repaired with a cementitious or epoxy repair mortar, feathered smooth and left to cure fully before the preparation continues. Rushing this step is one of the most common shortcuts that leads to visible imperfections in the finished floor.
Quality Control Steps for Coastal Installations
A thorough prep job ends with a final checklist before the first coat goes down. The surface should be clean, dry, profiled correctly, and free of any dust from grinding — usually achieved with an industrial vacuum and a final wipe-down with a compatible solvent.
Ambient temperature and humidity should be logged at the time of application. Most epoxy systems have an application window — typically between 10°C and 30°C with humidity below 85%. In Wollongong’s summer, morning application is often better than afternoon when temperatures peak and humidity spikes.
Get your contractor to walk you through their prep process before they start. Any professional doing coastal epoxy floor preparation in the Wollongong area should be able to answer questions about moisture testing, surface profile, primer selection and environmental conditions without hesitation. If they can’t — or if they’re planning to start and finish in a single day on a coastal slab — Craig’s experience might be about to repeat itself on your garage floor.